Creating Consumer
Creating Consumer
Step 1.Click the menu icon (three Horizontal lines) located on the left sidebar
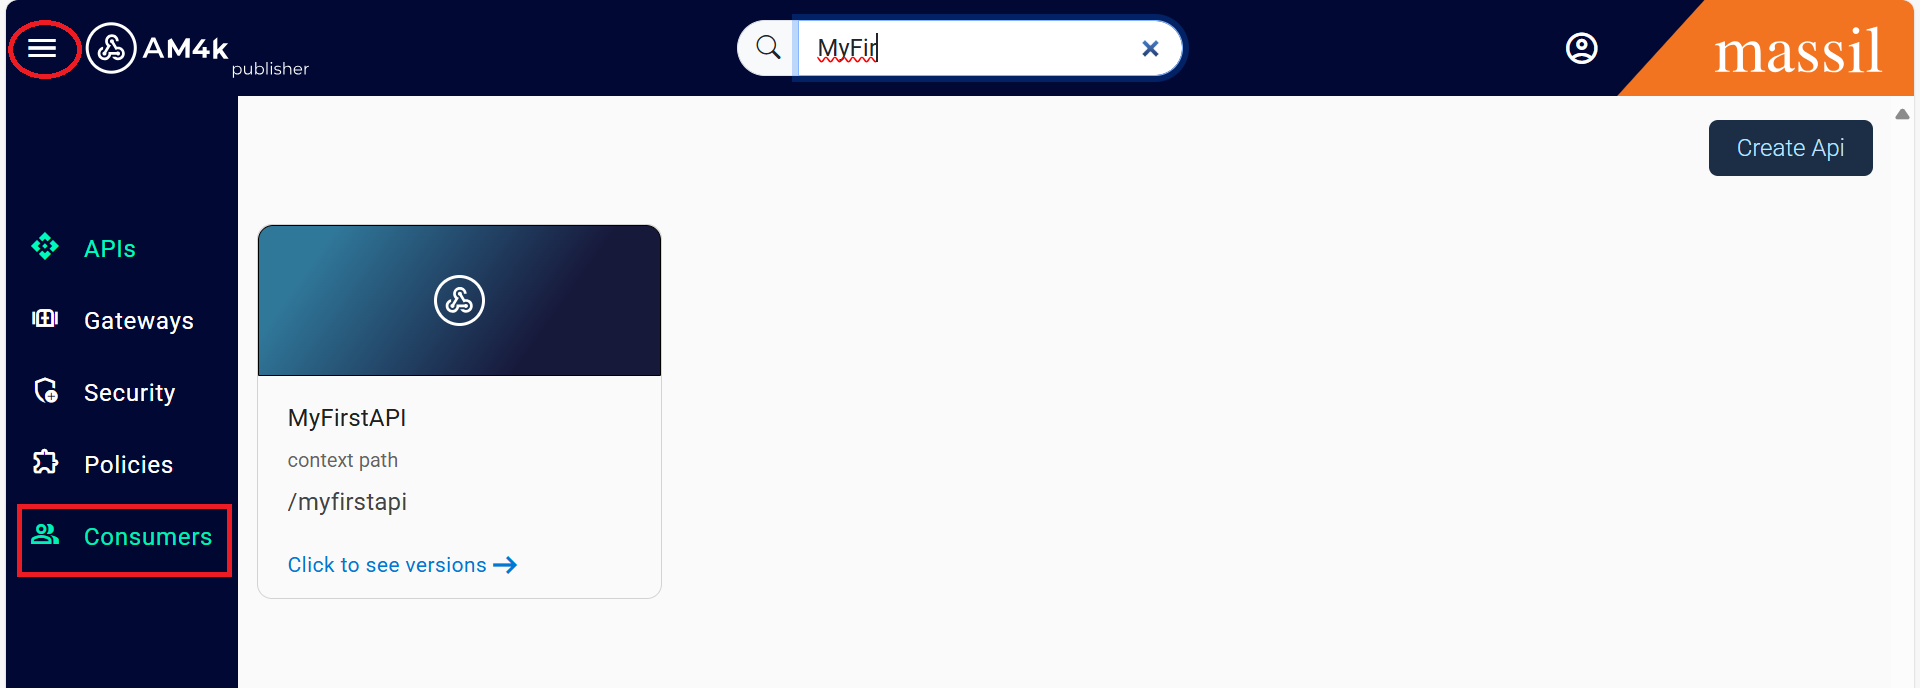
Step 2.Once you click on the consumers tab, you can view all the available consumers created so far. You can either subscribe to an existing API Product or create a new consumer and then create an API Product.
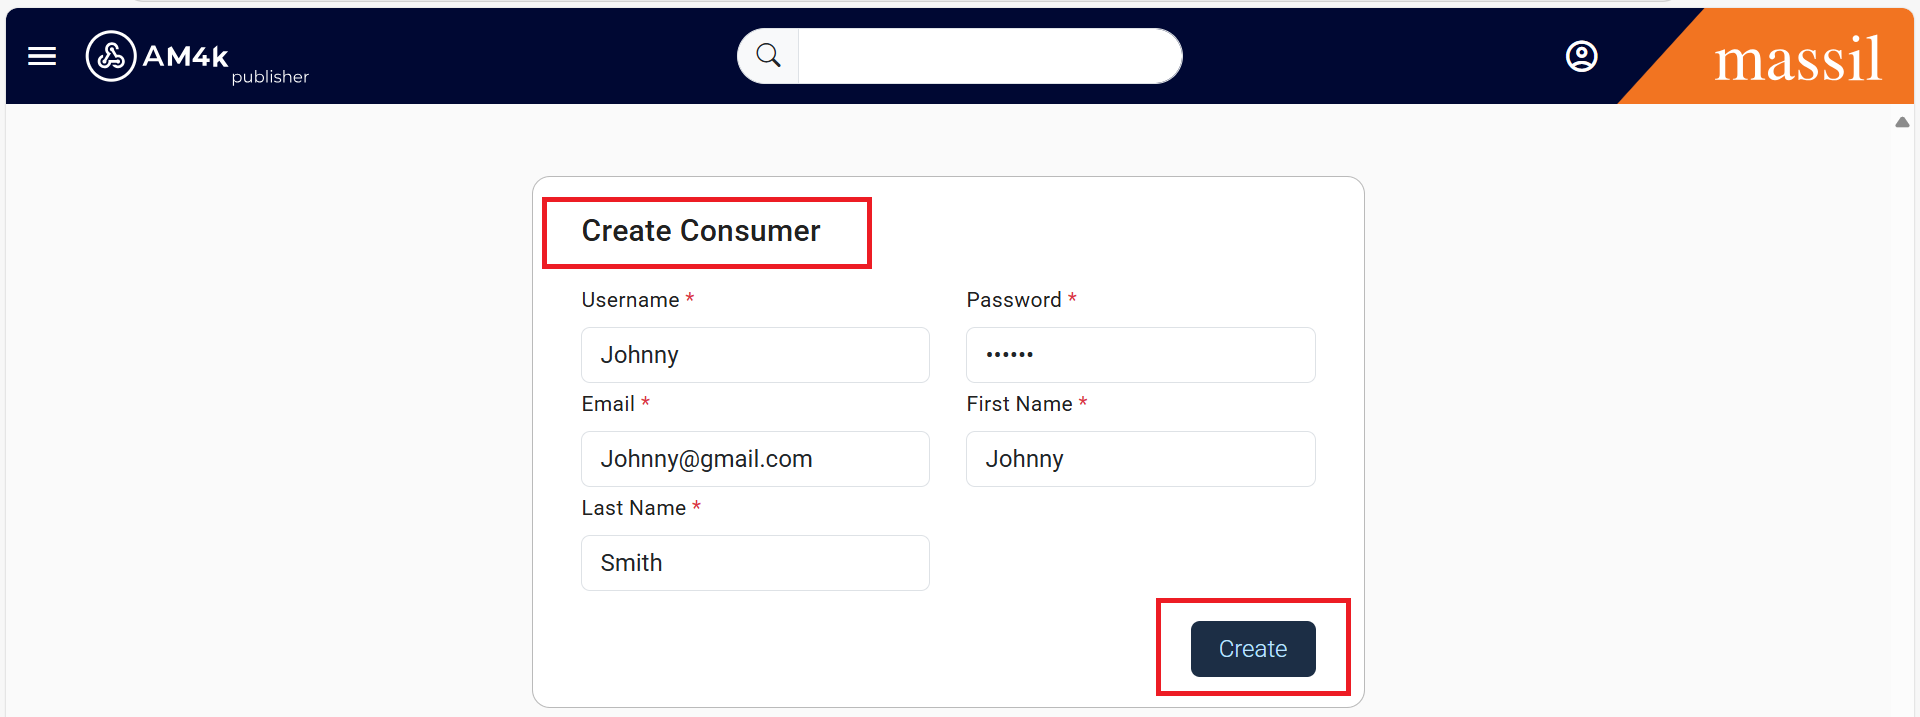
Step 3.Click on create consumers, provide the required fields, and then click create.
Step 4.Enter Consumer Details :
| Field | Sample Value |
|---|---|
| Username* | Name of the user |
| Password* | Password for the user |
| Email of the user | |
| First Name | First Name of the user |
| Last Name | Last Name of the user |

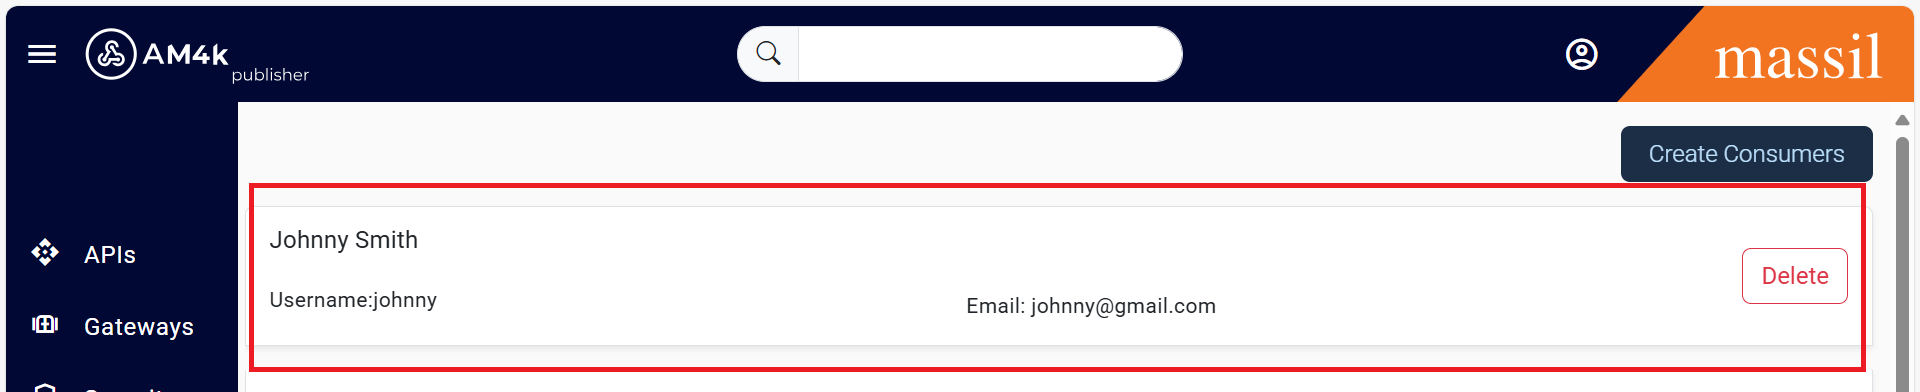
Step 5.After entering the details, click on the create button. The consumer will be successfully created and will be visible in the list, as shown below.
Create Consumer Product
Step 6.Click on the created consumer and select Create API Product.

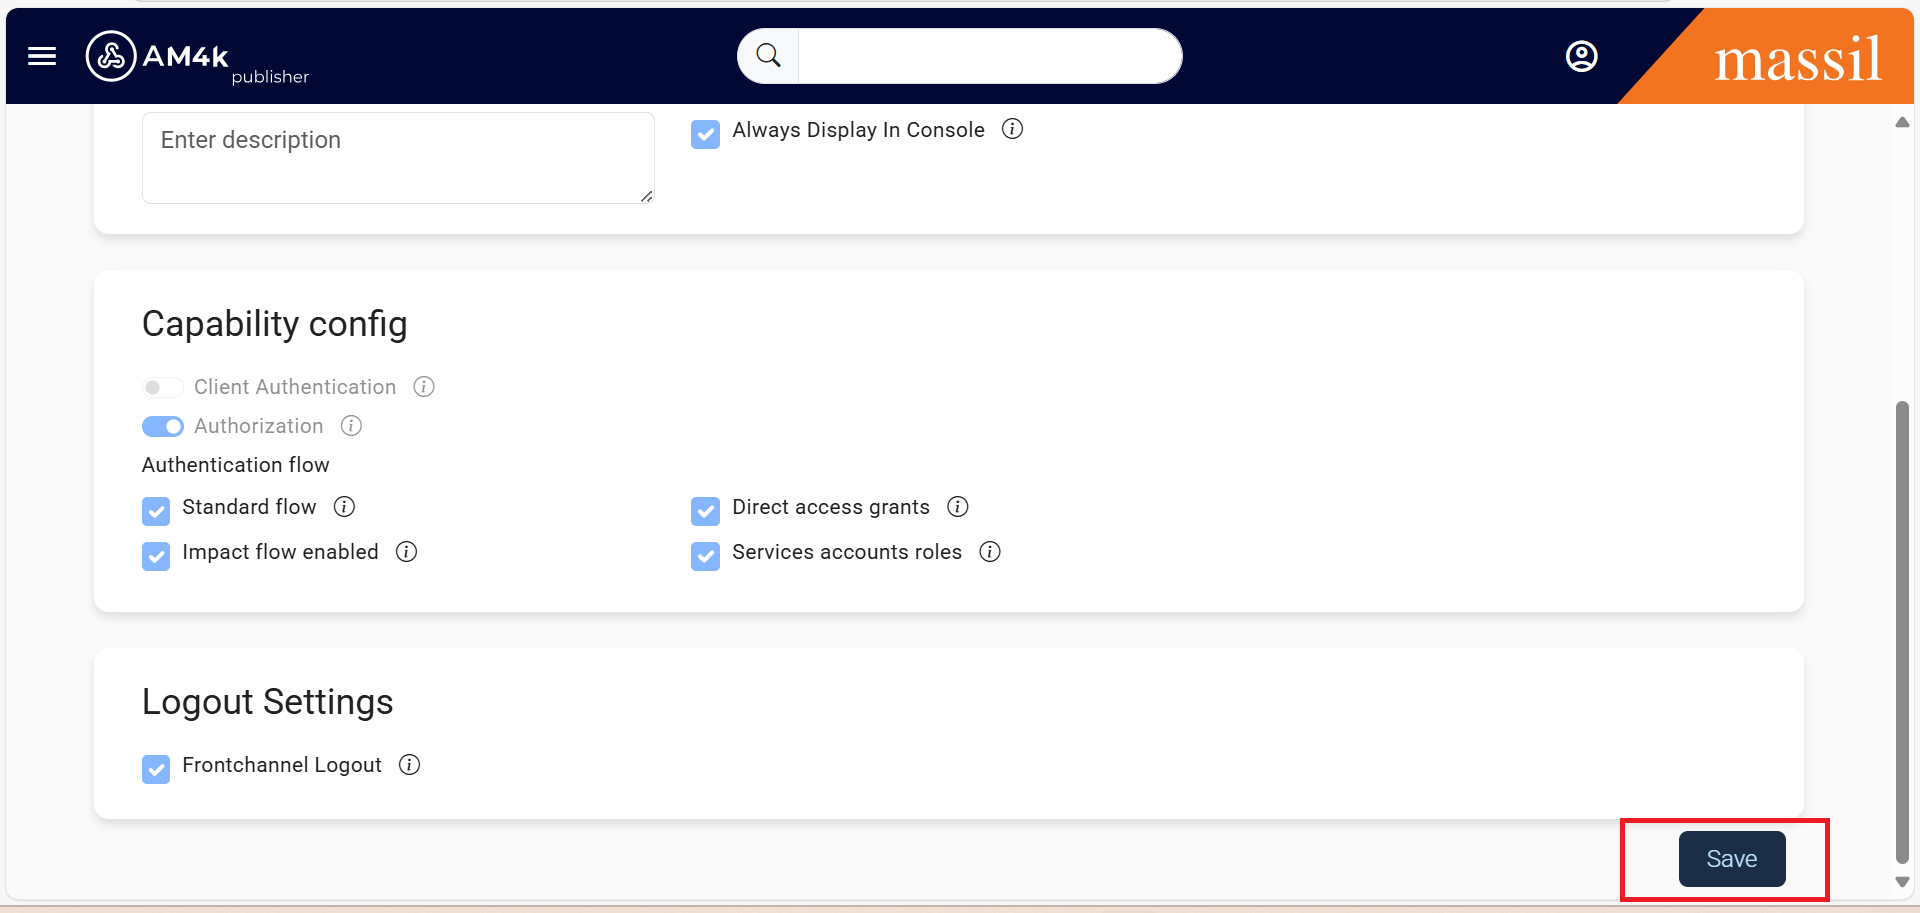
Step 7.Provide the required details such as Client ID, Name, and any other necessary configurations. Click Save at the bottom of the page to complete the process.

Step 8.After clicking Save, the application will be successfully created and displayed as shown below.

Step 9.Click on the Client ID and subscribe to the required APIs for this application.
Step 10.In the Overview section, you can view the Consumer Key and Consumer Secret.

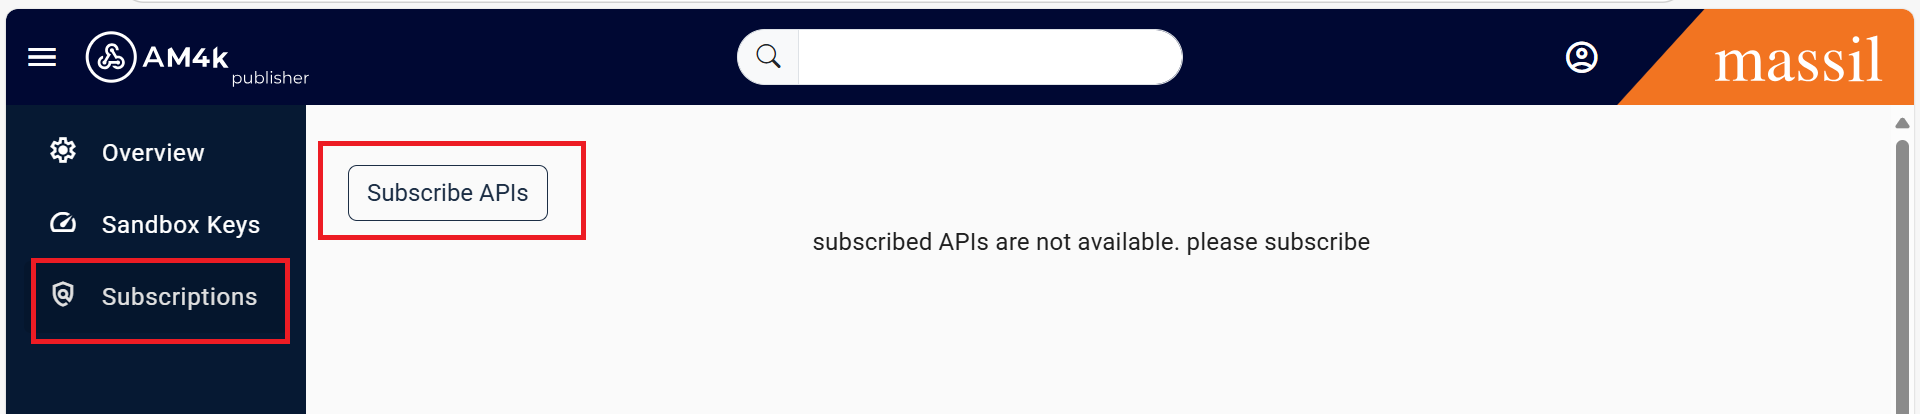
Subscribe API's
Step 11.Go to the Subscriptions tab click on it then you will be able to see subscribe Api’s click on it ,
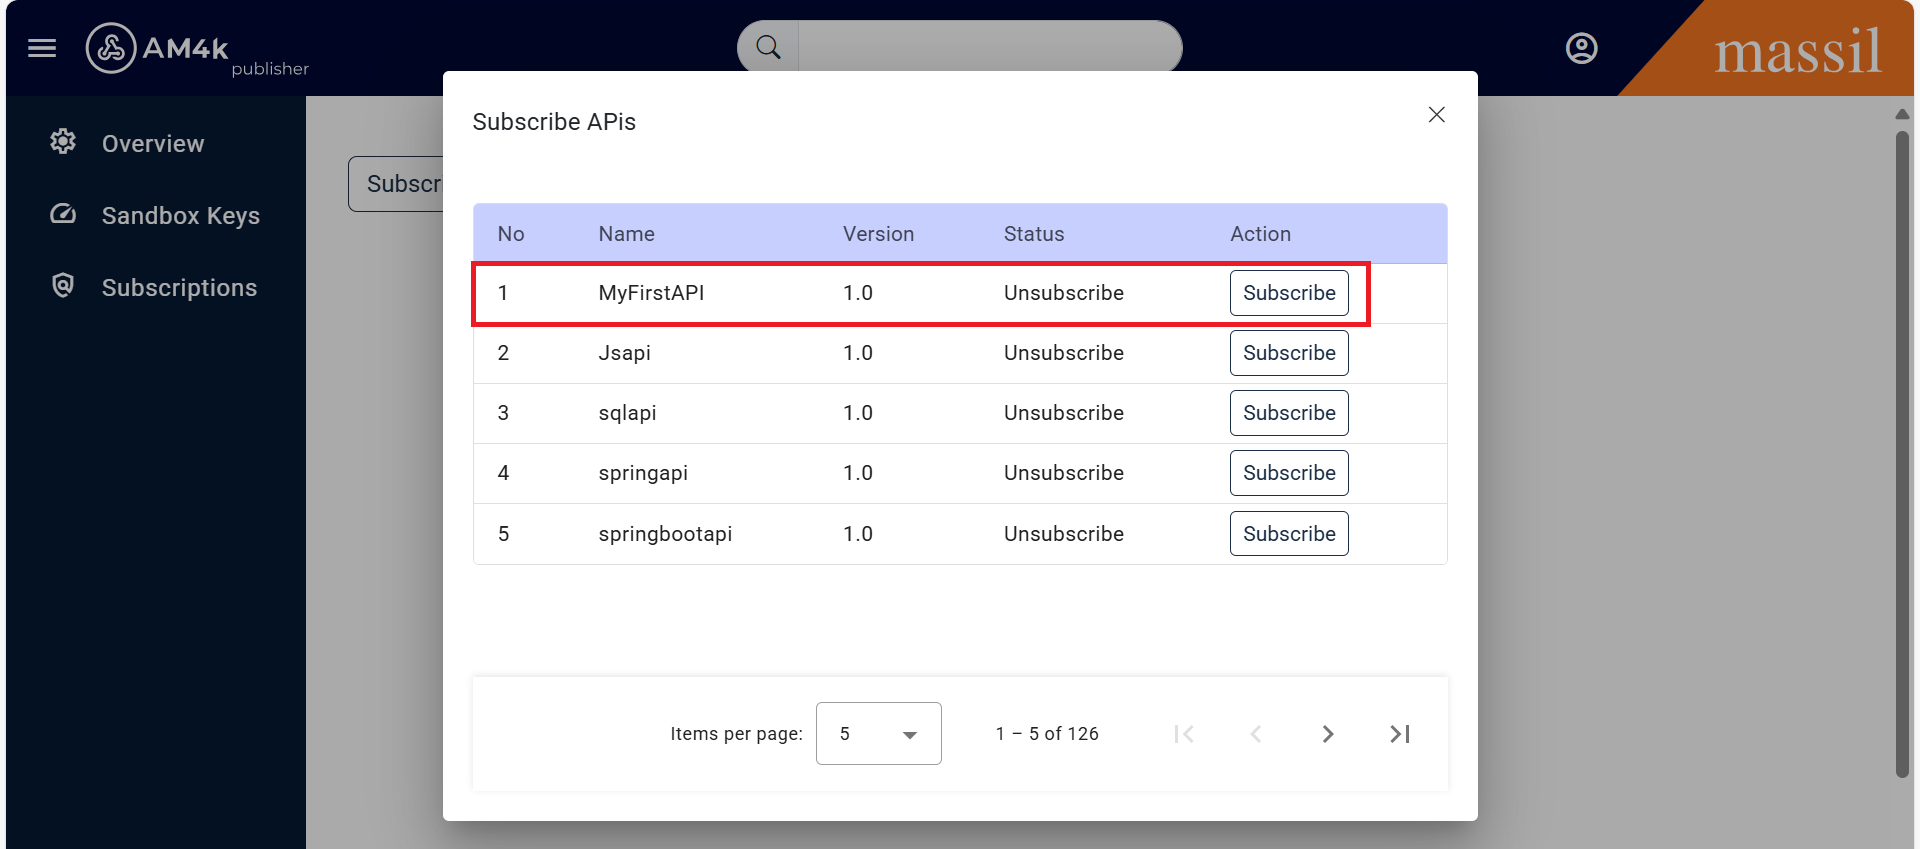
Step 12.where all available APIs will be listed. select and subscribe the required APIs.
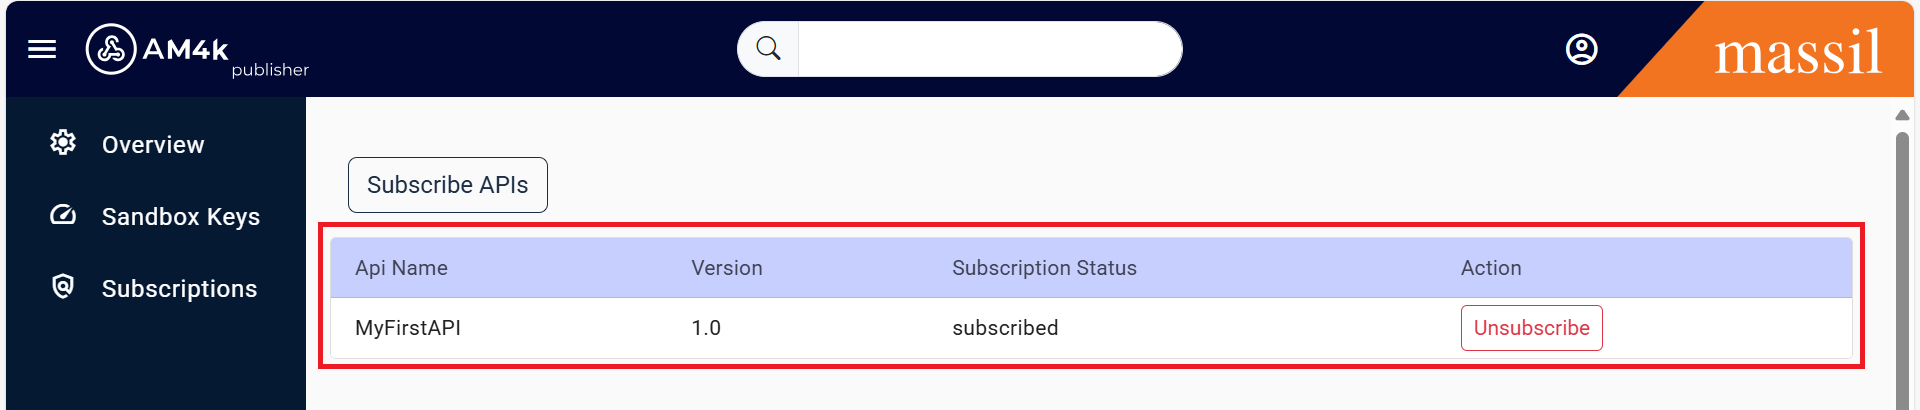
Step 13.Once the API is subscribed, all the subscribed APIs will be displayed under the API Product.
Deployment
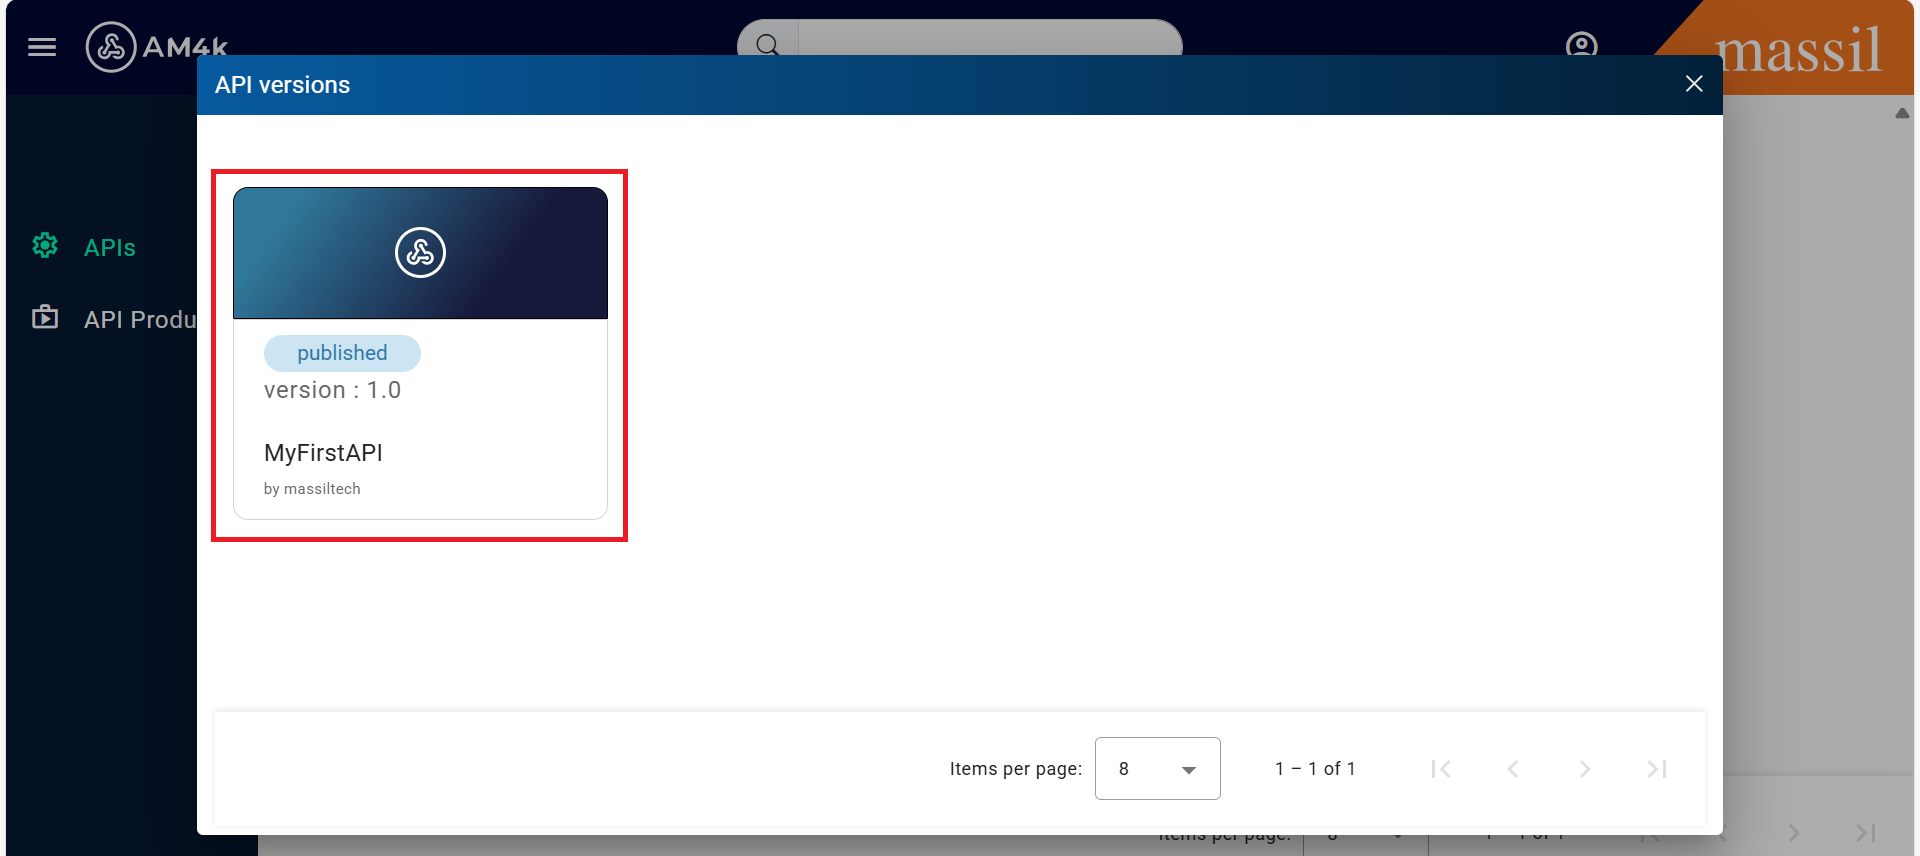
Step 14.Select the API you can able to see as shown below image.
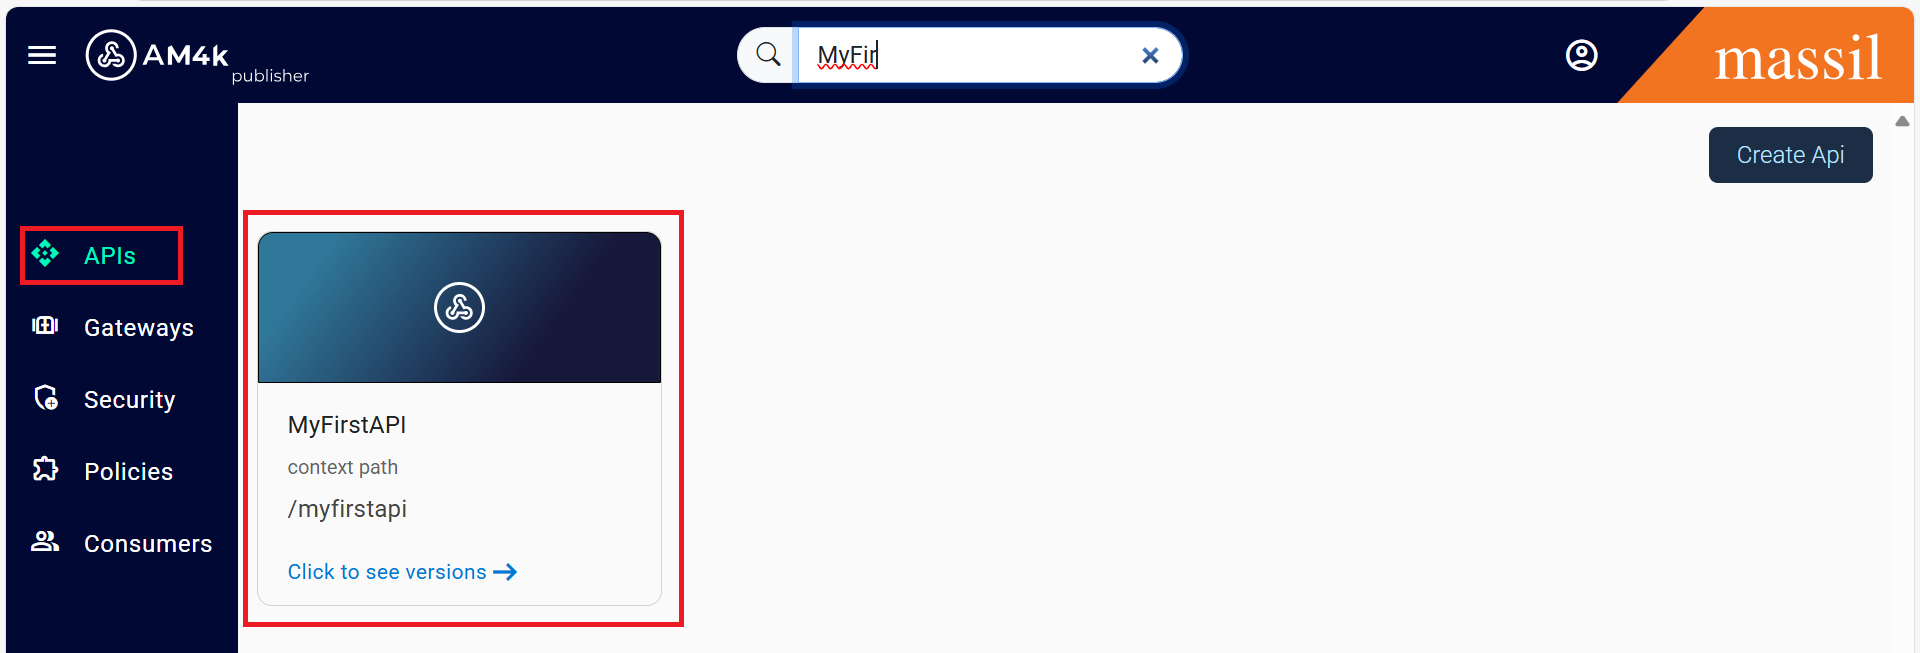
Step 15.Click on the API named MyFirstAPI, or the API you created in your case
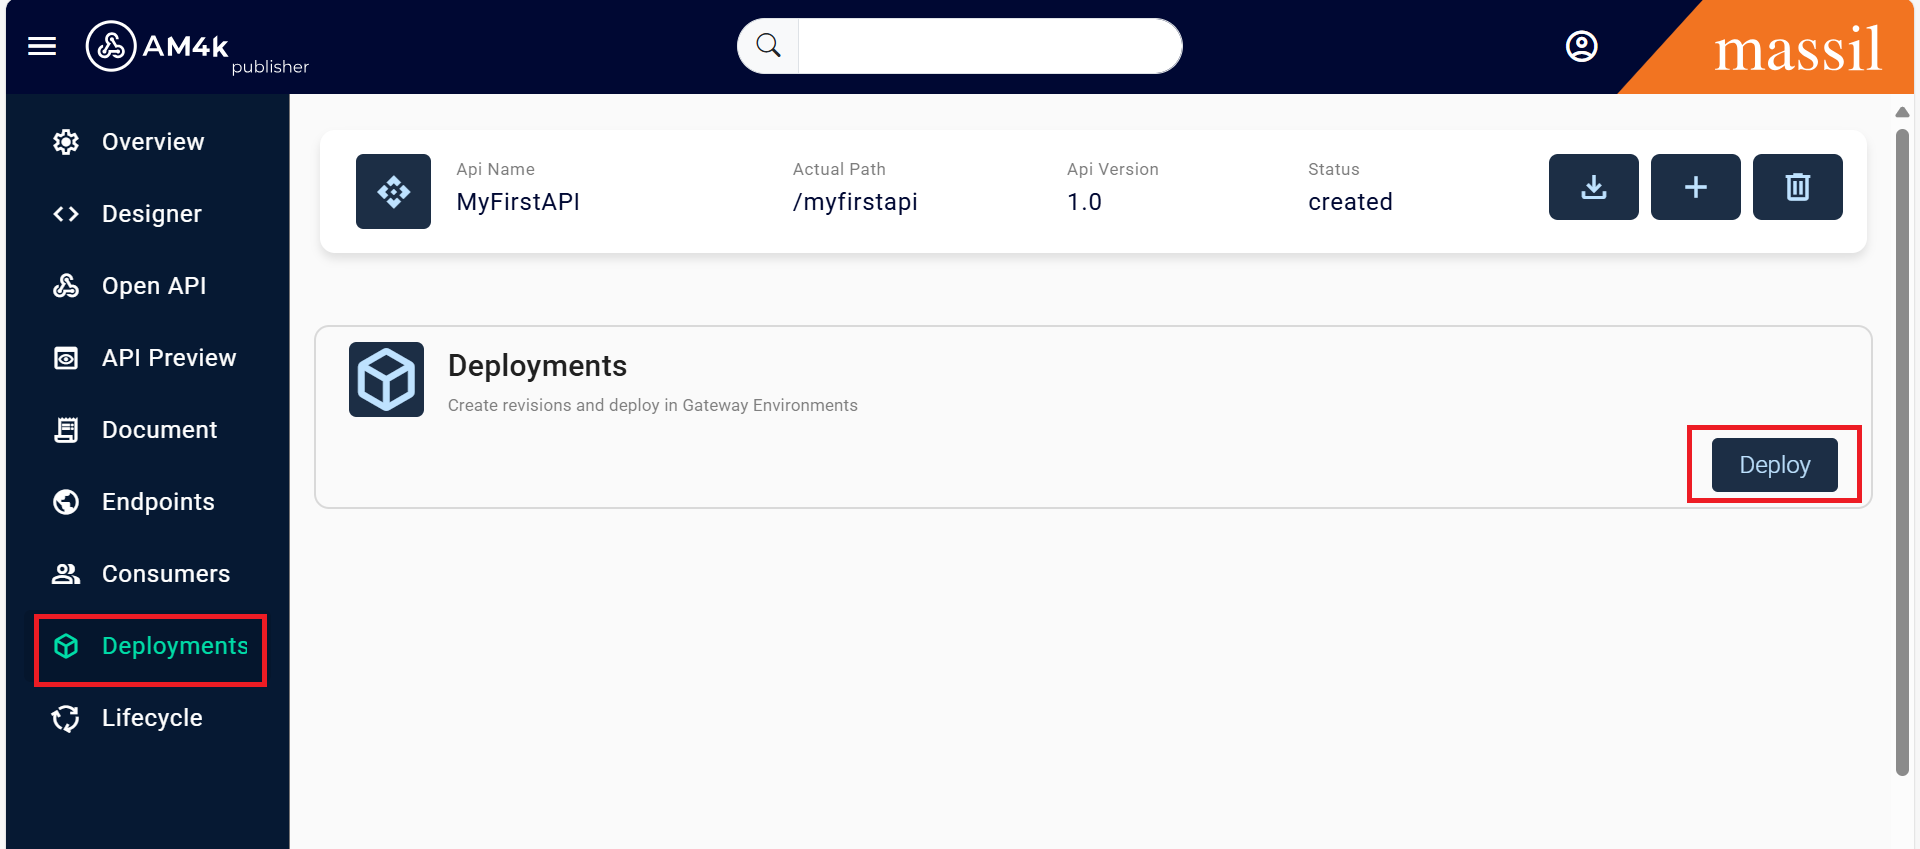
Step 16.Once you select the API, the interface shown below will be visible
17.From the left sidebar, click on the Deployment tab
Testing In Devportal
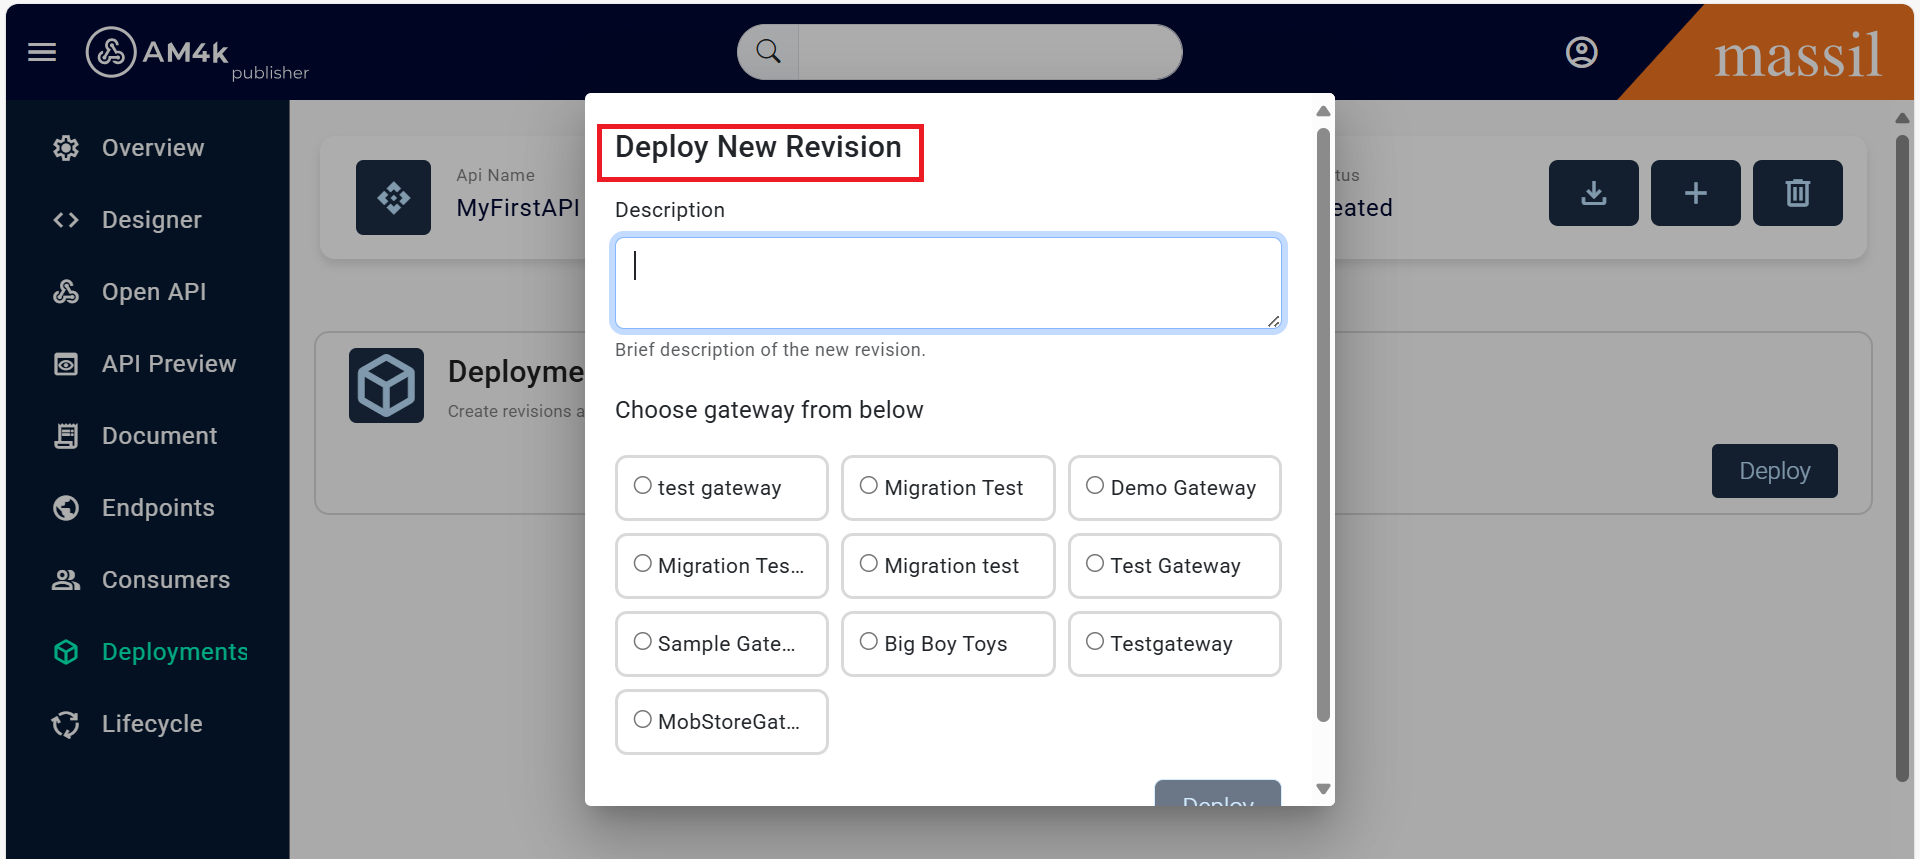
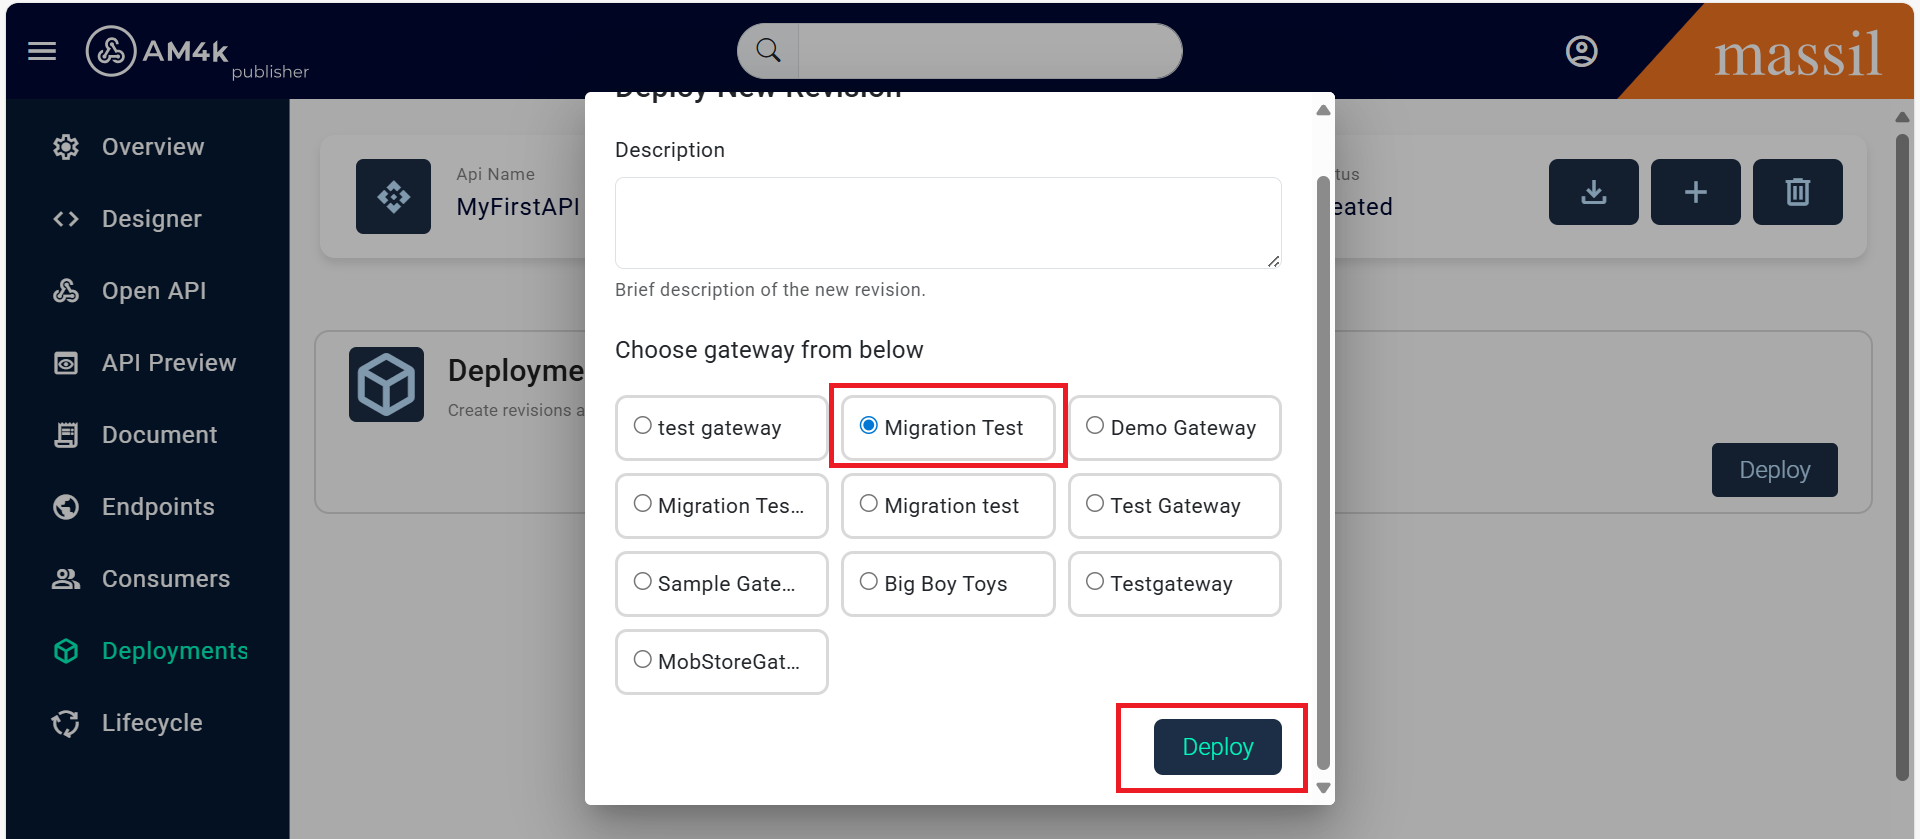
Step 17.Click on Deploy, select the Gateway where the API should be deployed, and then click Deploy as shown below images.
Step 18.Once the API is deployed, a message stating "Deployment completed successfully" will be displayed.
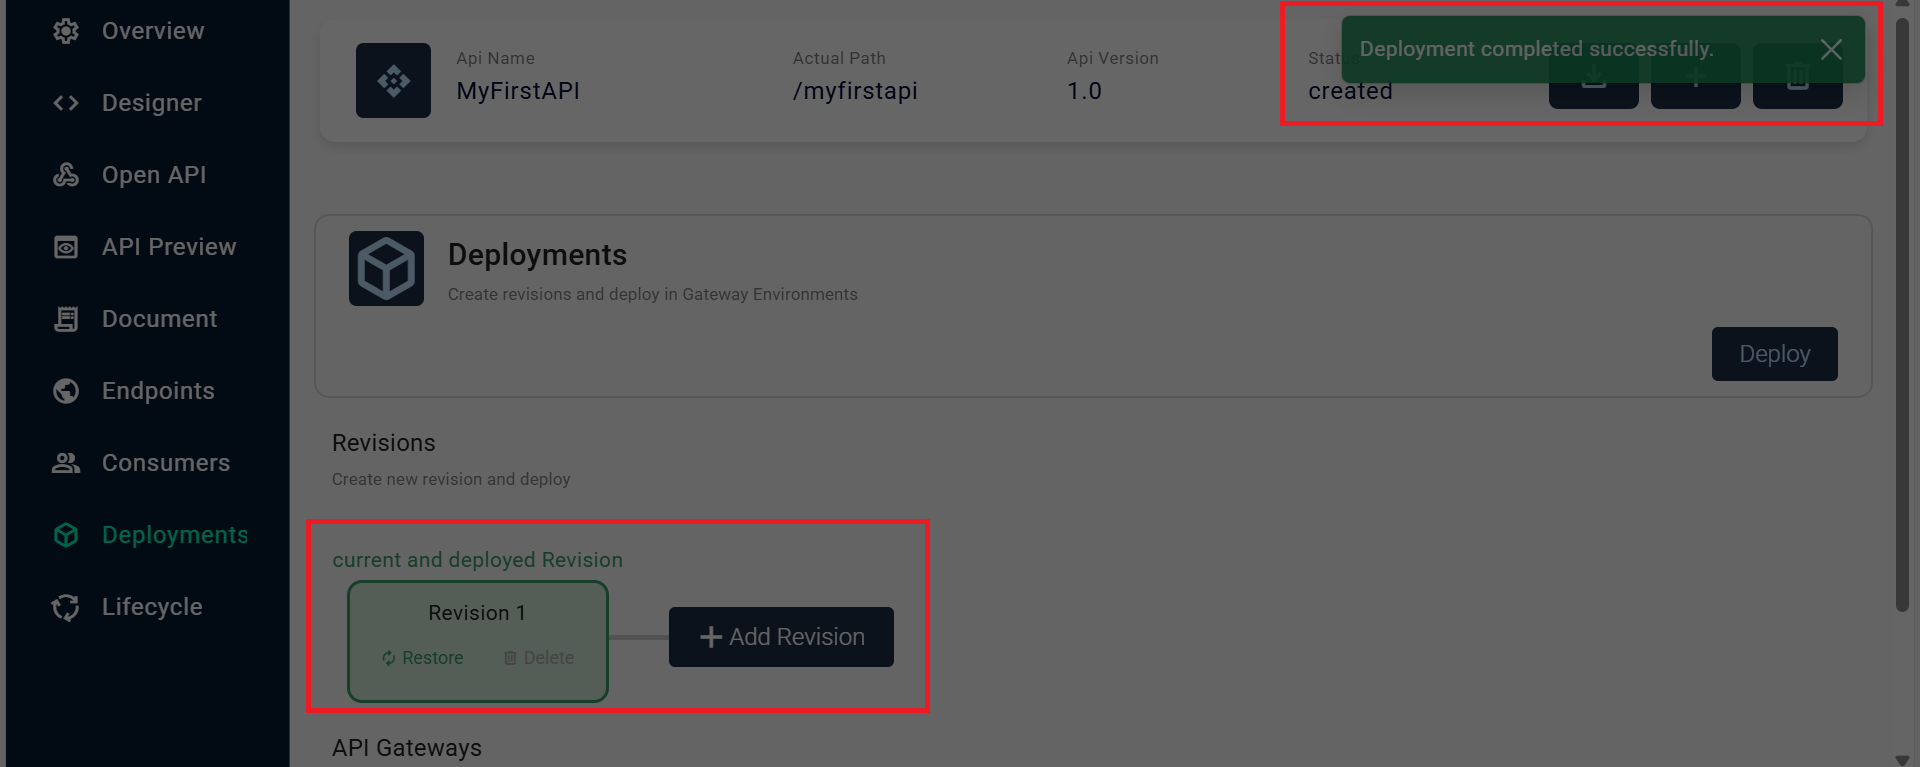
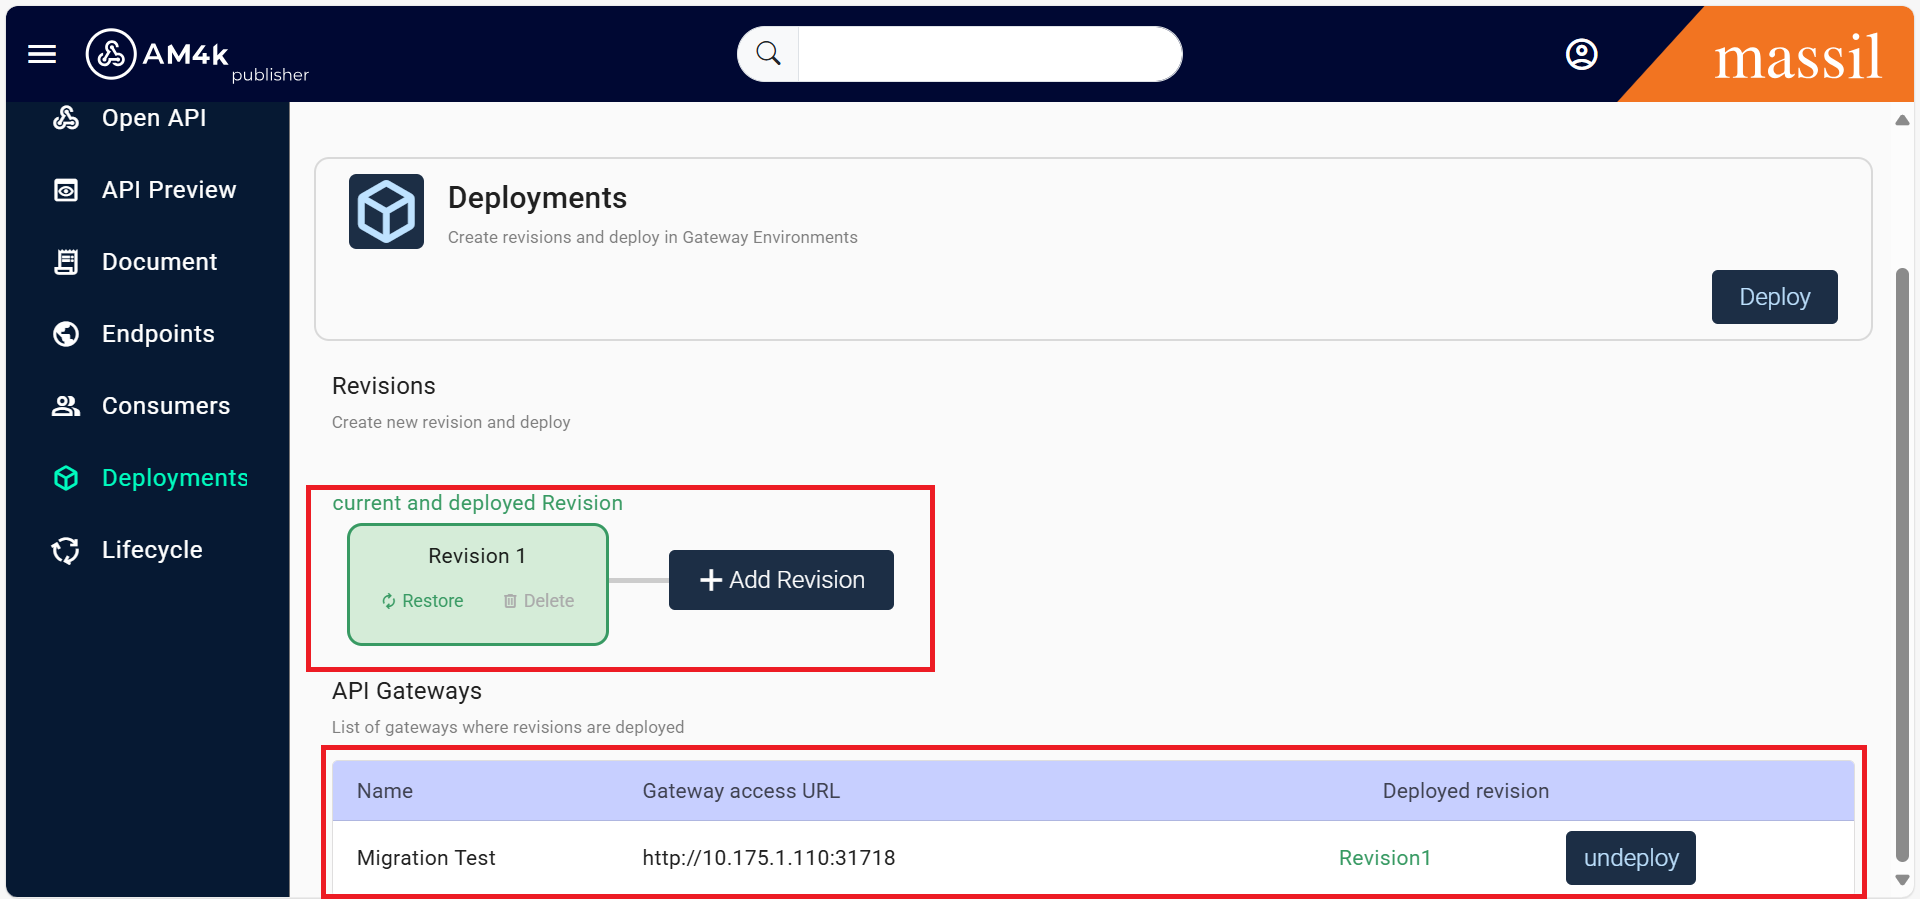
Step 19.The image below clearly shows your deployed API and the selected gateway.
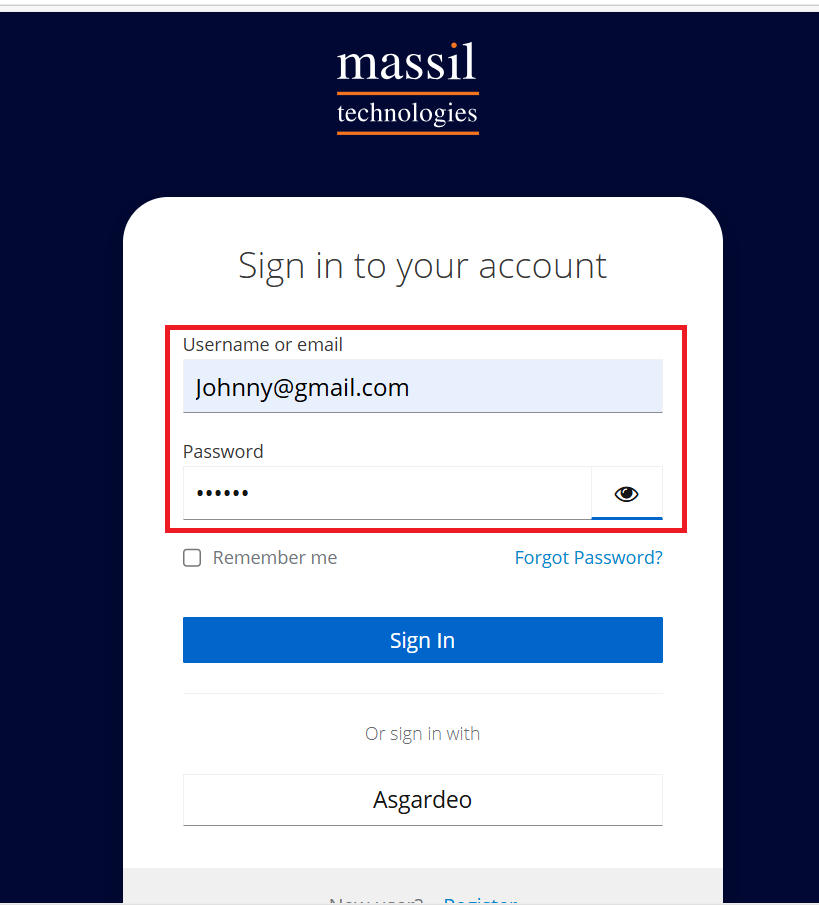
Step 20.After a successful deployment, access the DevPortal and login using the credentials set in the Publisher Portal during consumer creation.
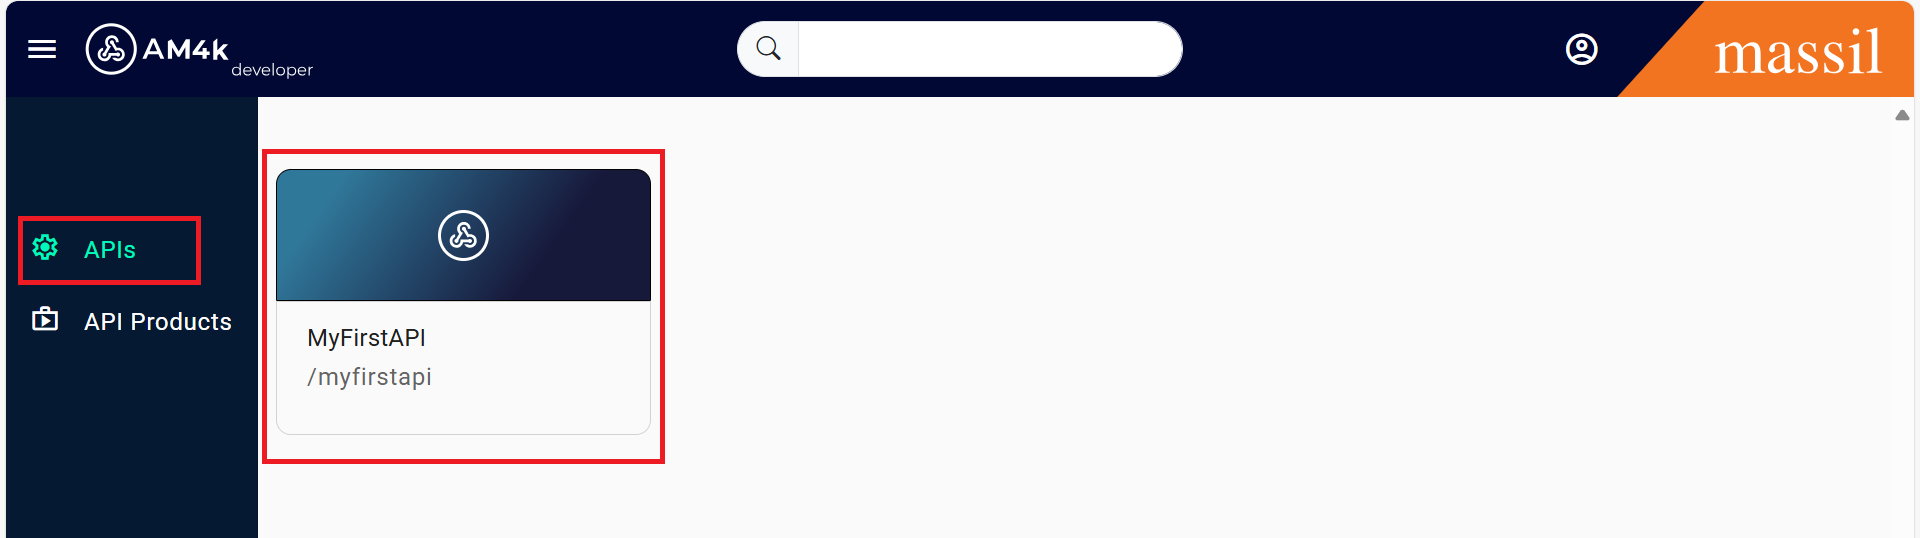
Step 21.All the subscribed APIs for the application will be visible in the DevPortal.
Step 22.Click on the desired API and select Try It to test the functionality.
Step 23.As shown in the images below.
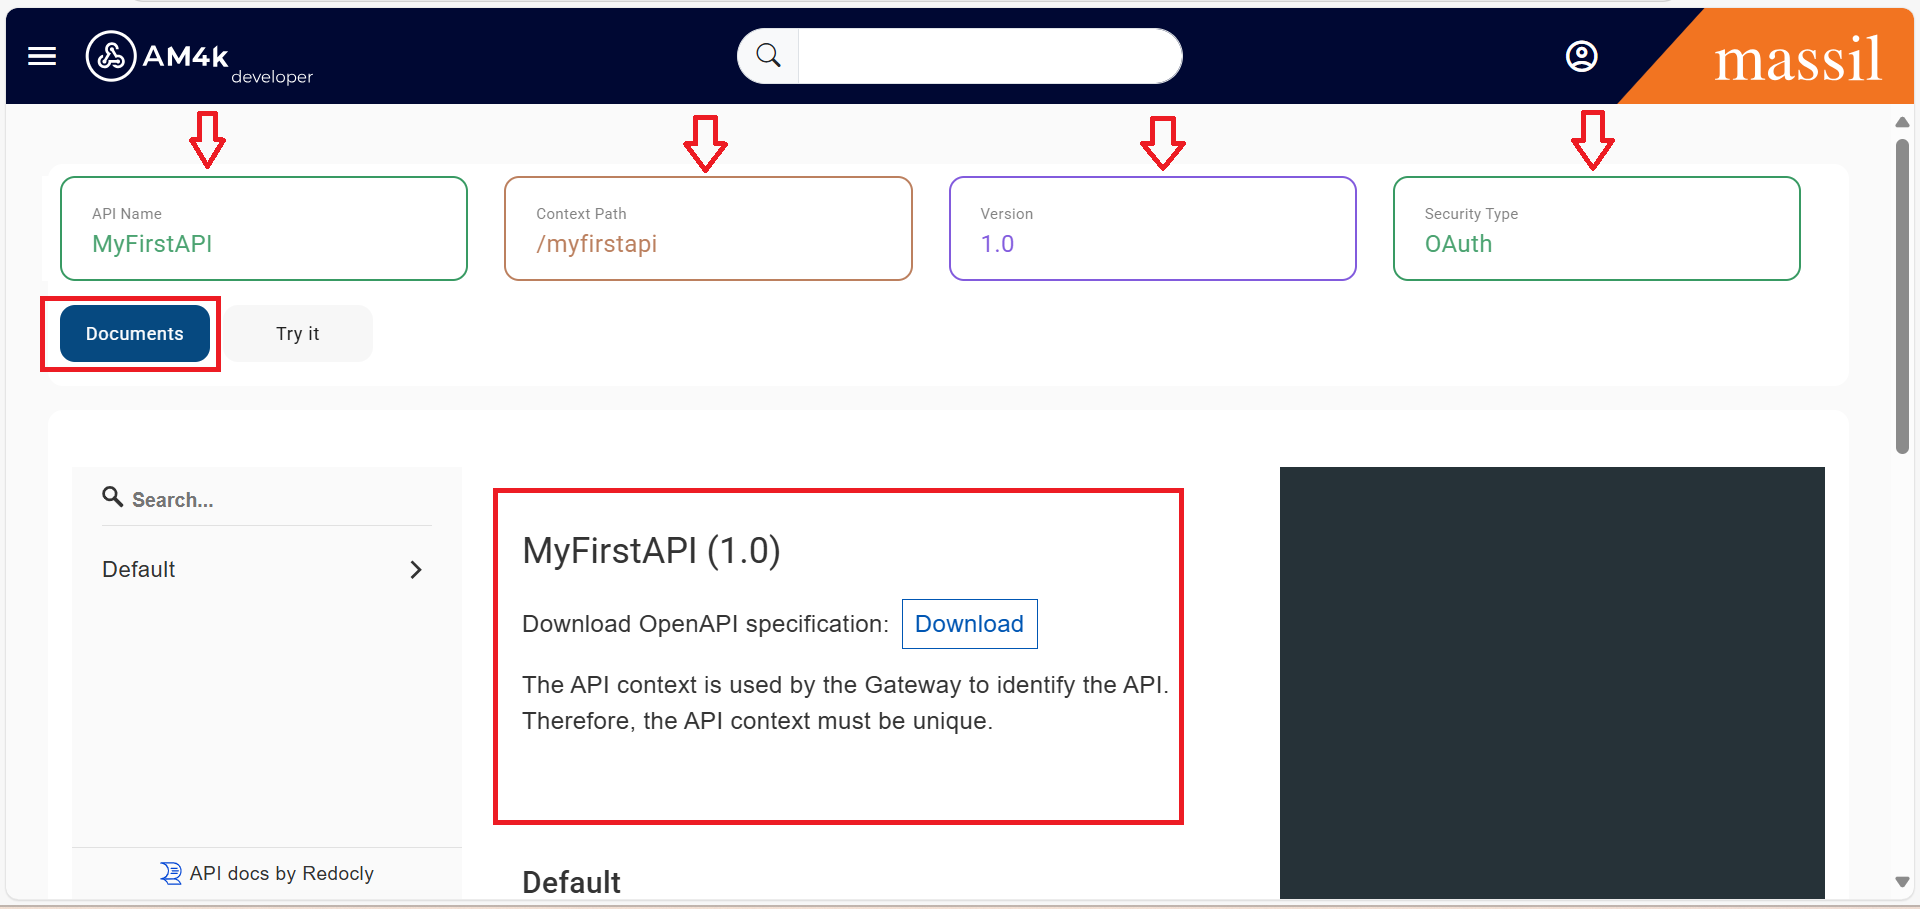
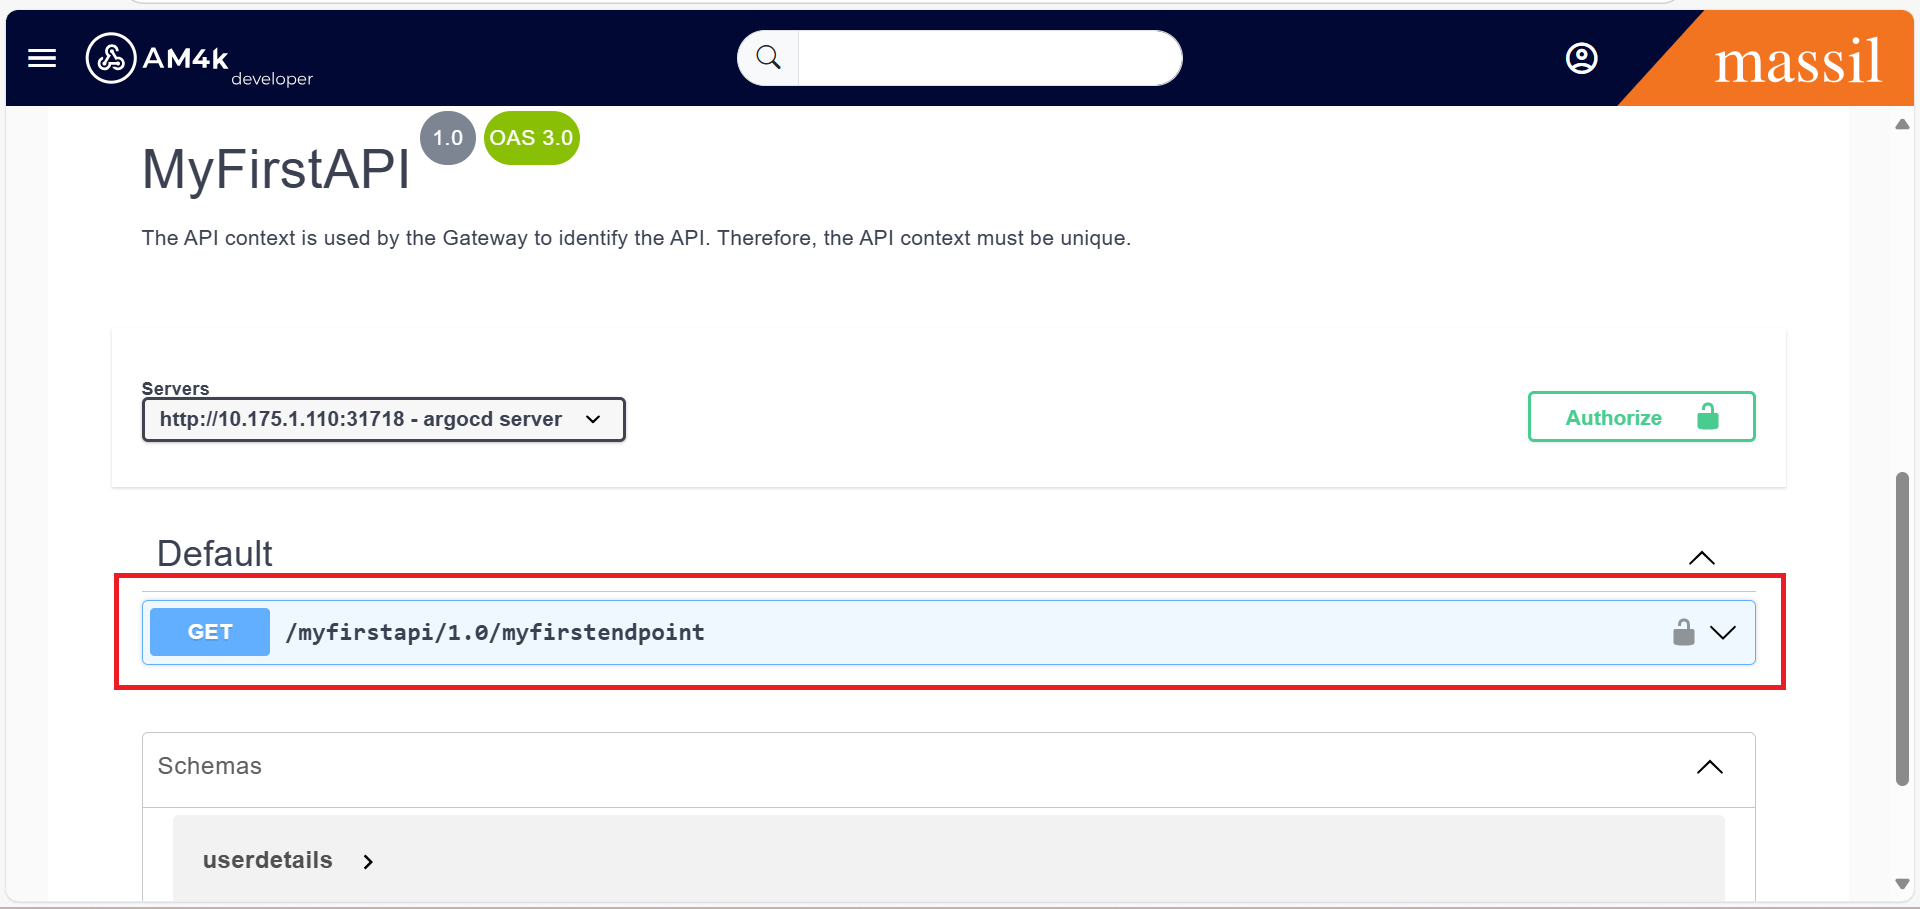
Step 24.In the DevPortal, you can verify that the API details—such as the Context Path, Security Settings, and Version—match those configured in the Publisher Portal.
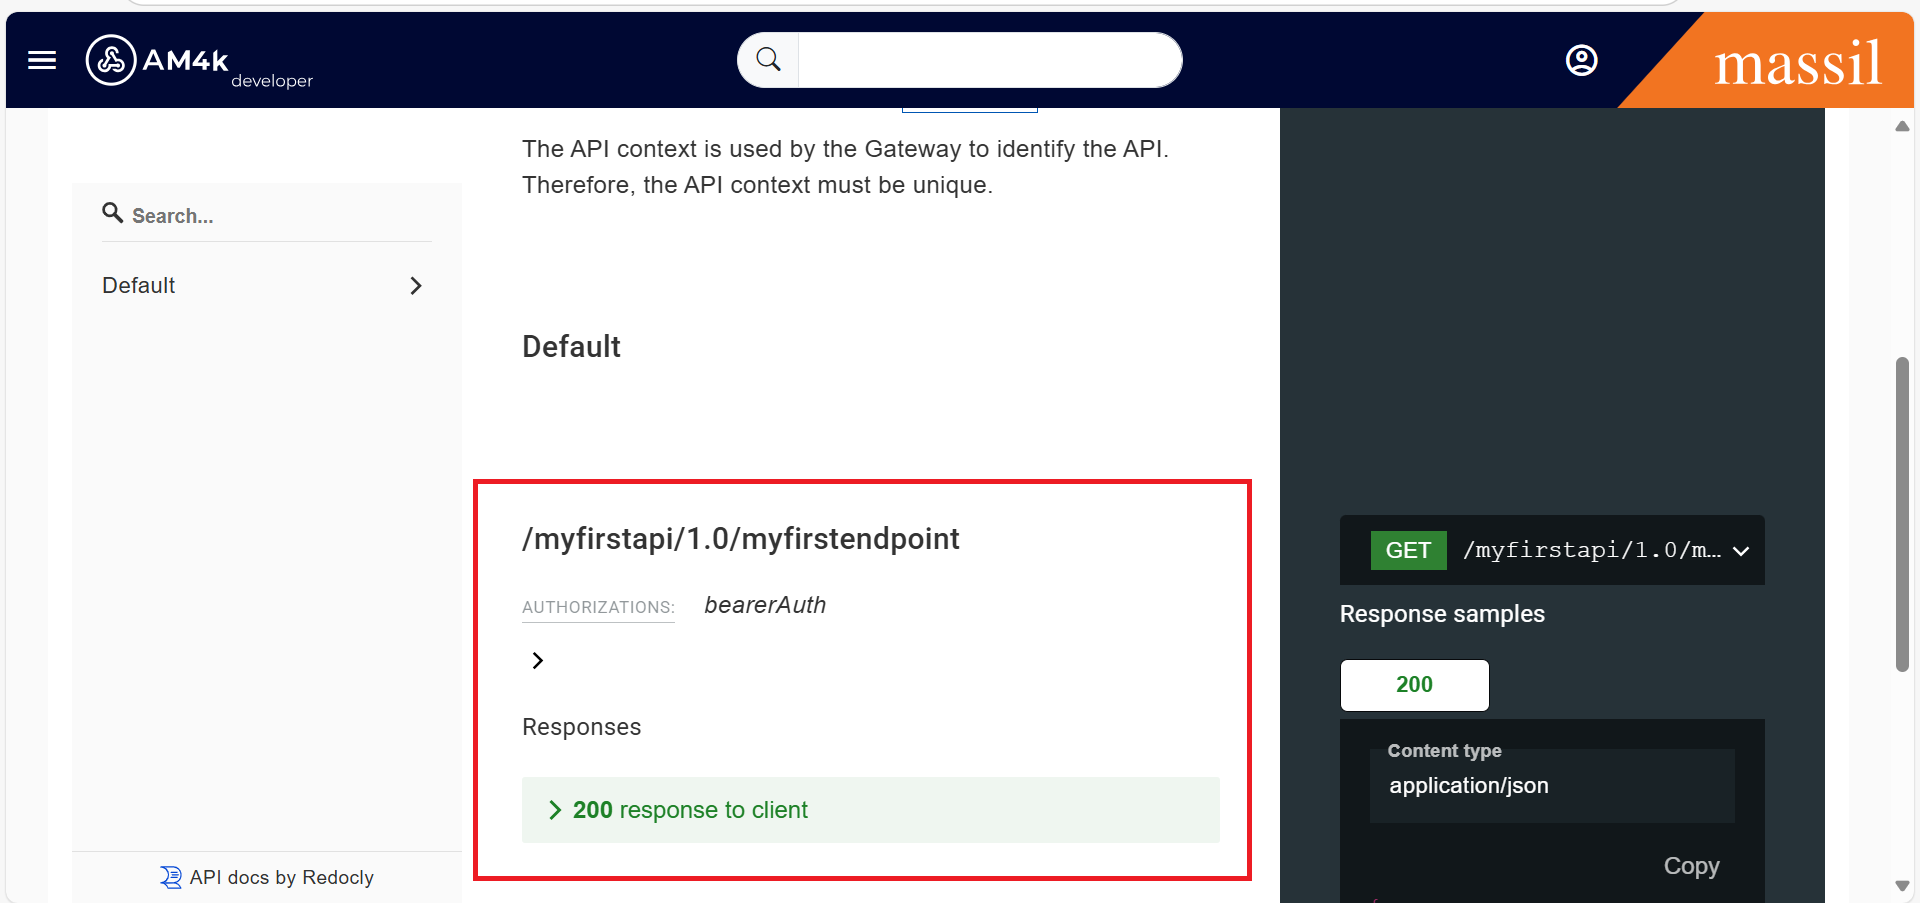
Step 25.You can also see the API documentation, as marked in the images below
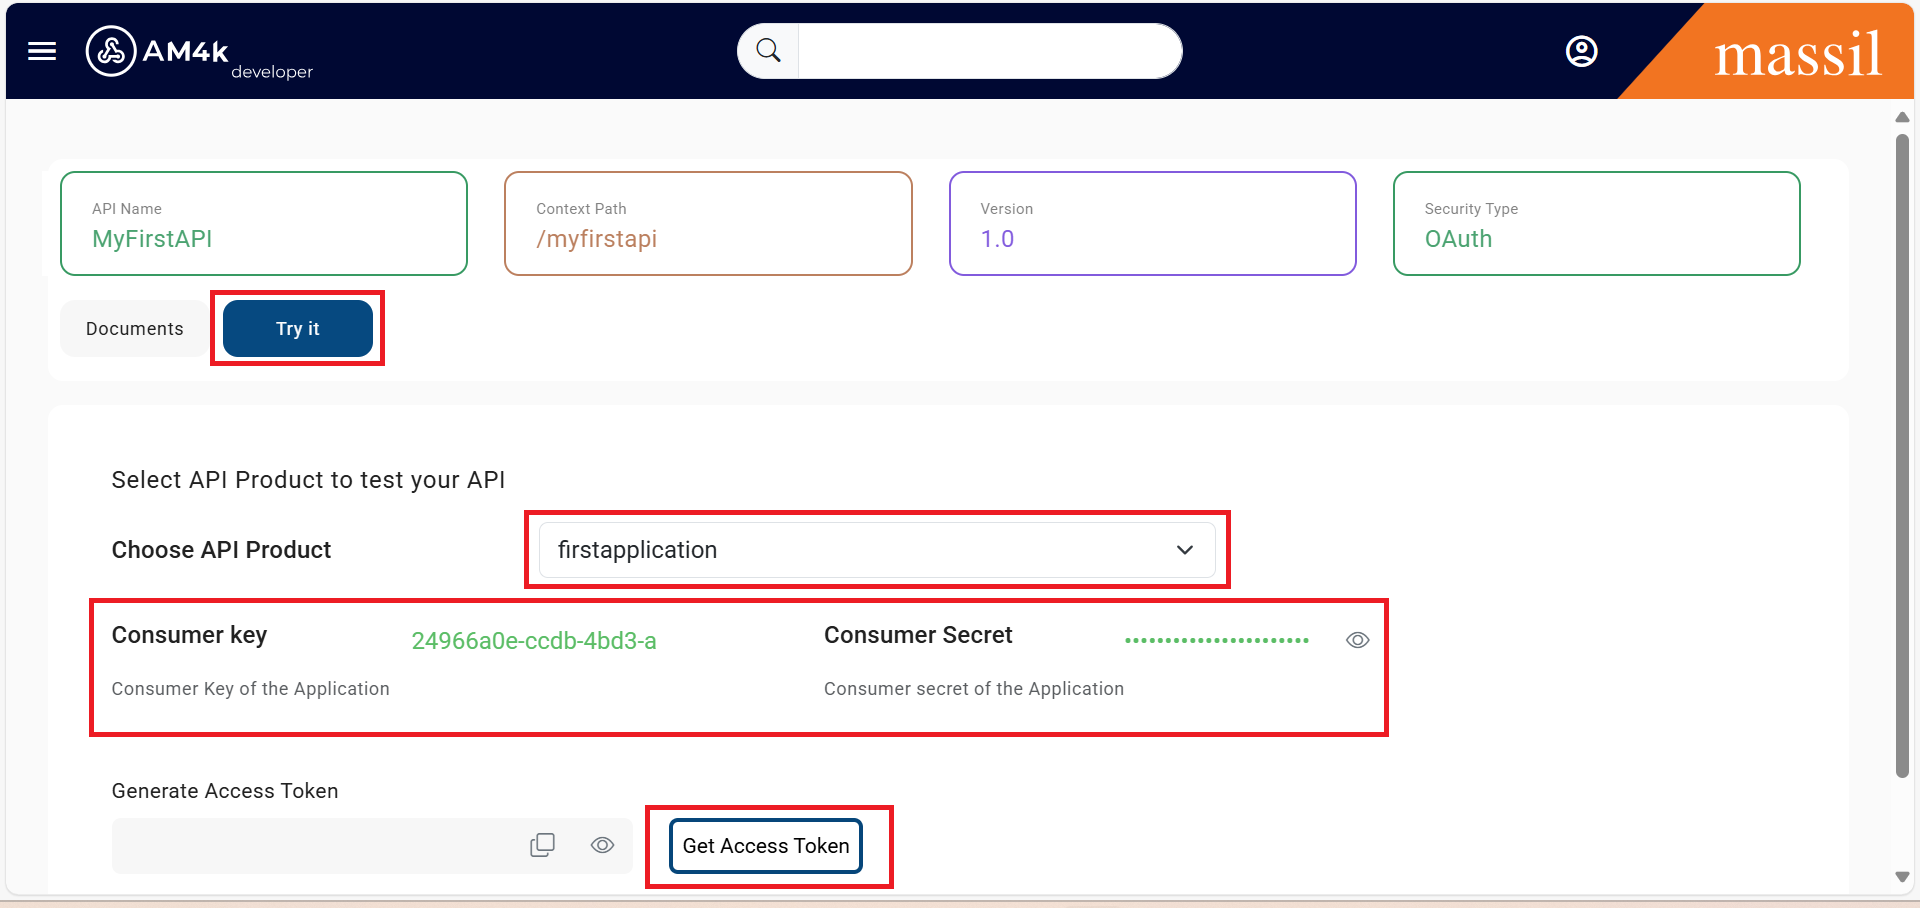
Step 26.Click on Tryit select the API product.
Step 27.Click on Get Access Token, Once the access token is generated, the resources will become available for testing.
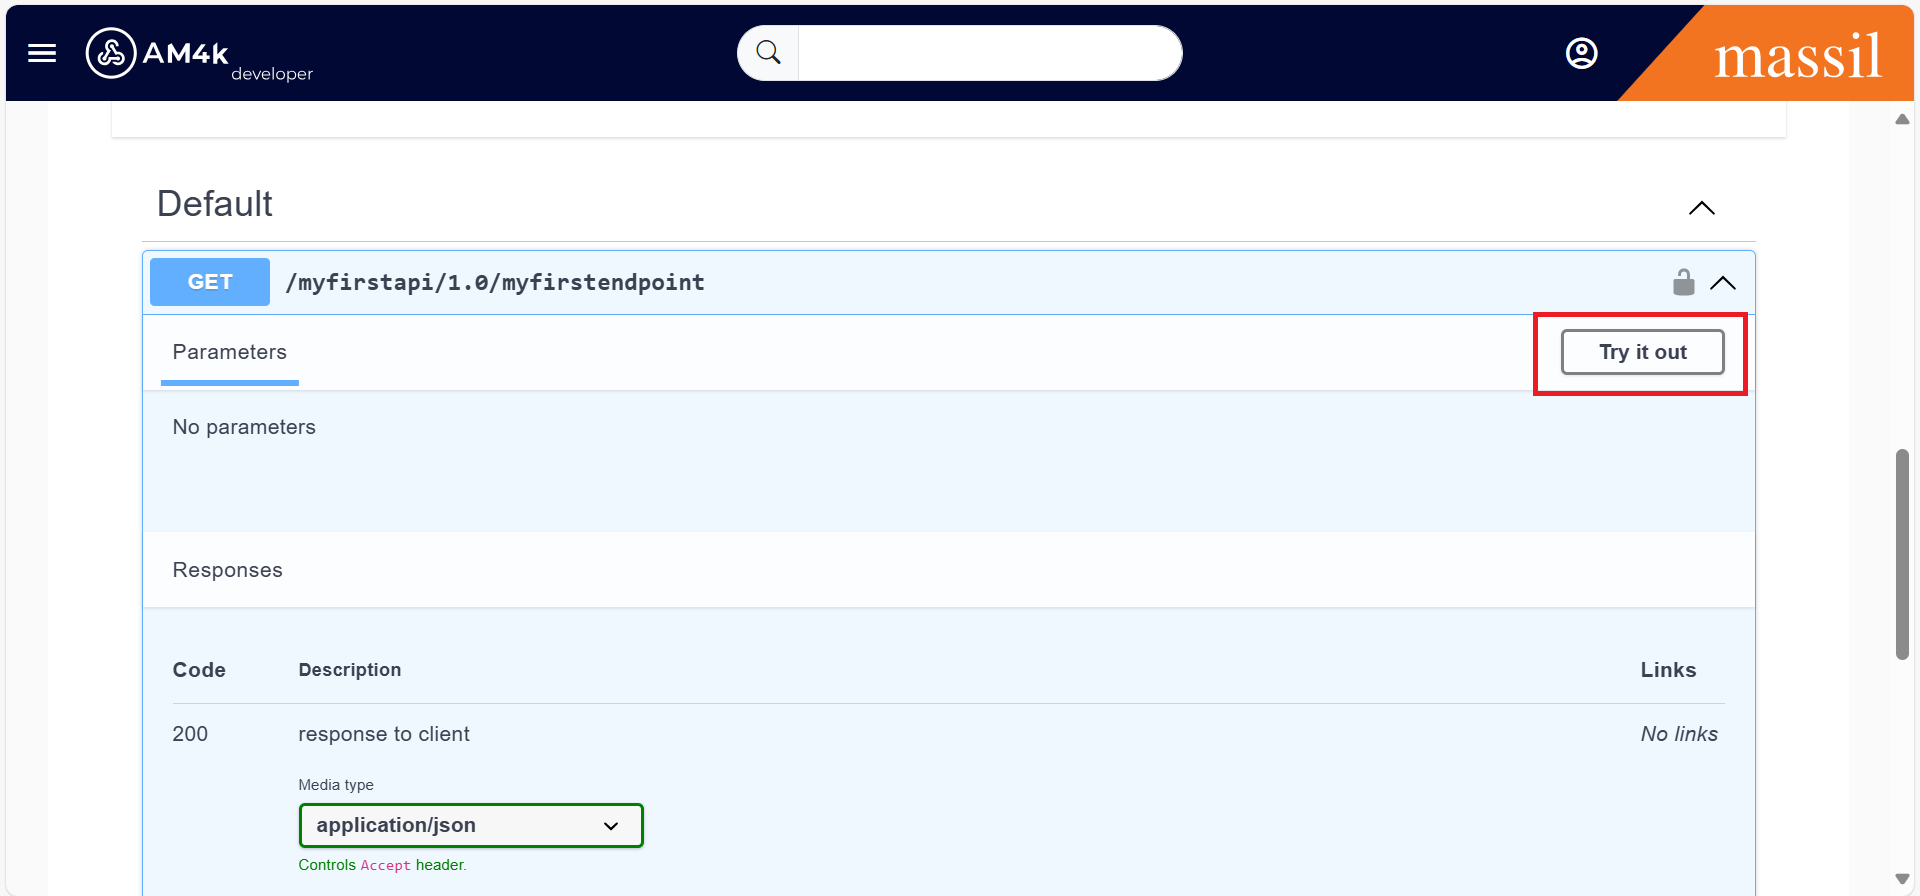
Step 28.After the access token is generated, you will see all the resources related to that endpoint. Select the desired resource, click Try It Out, and then execute the request.
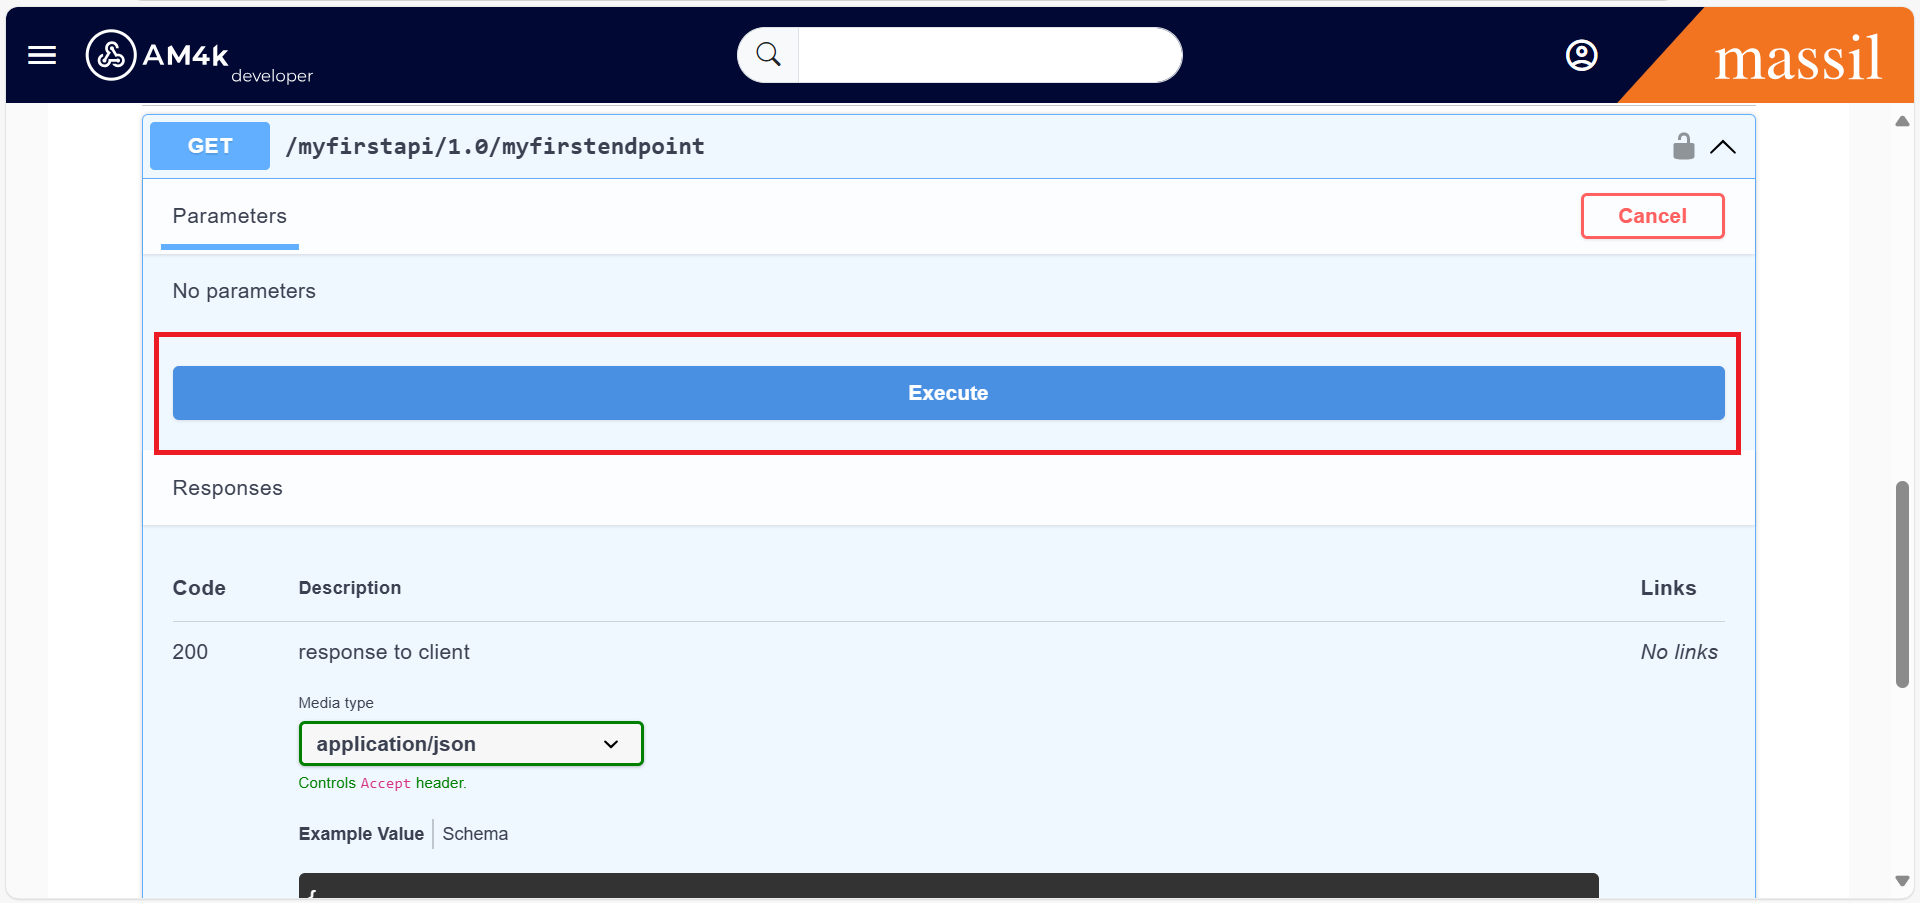
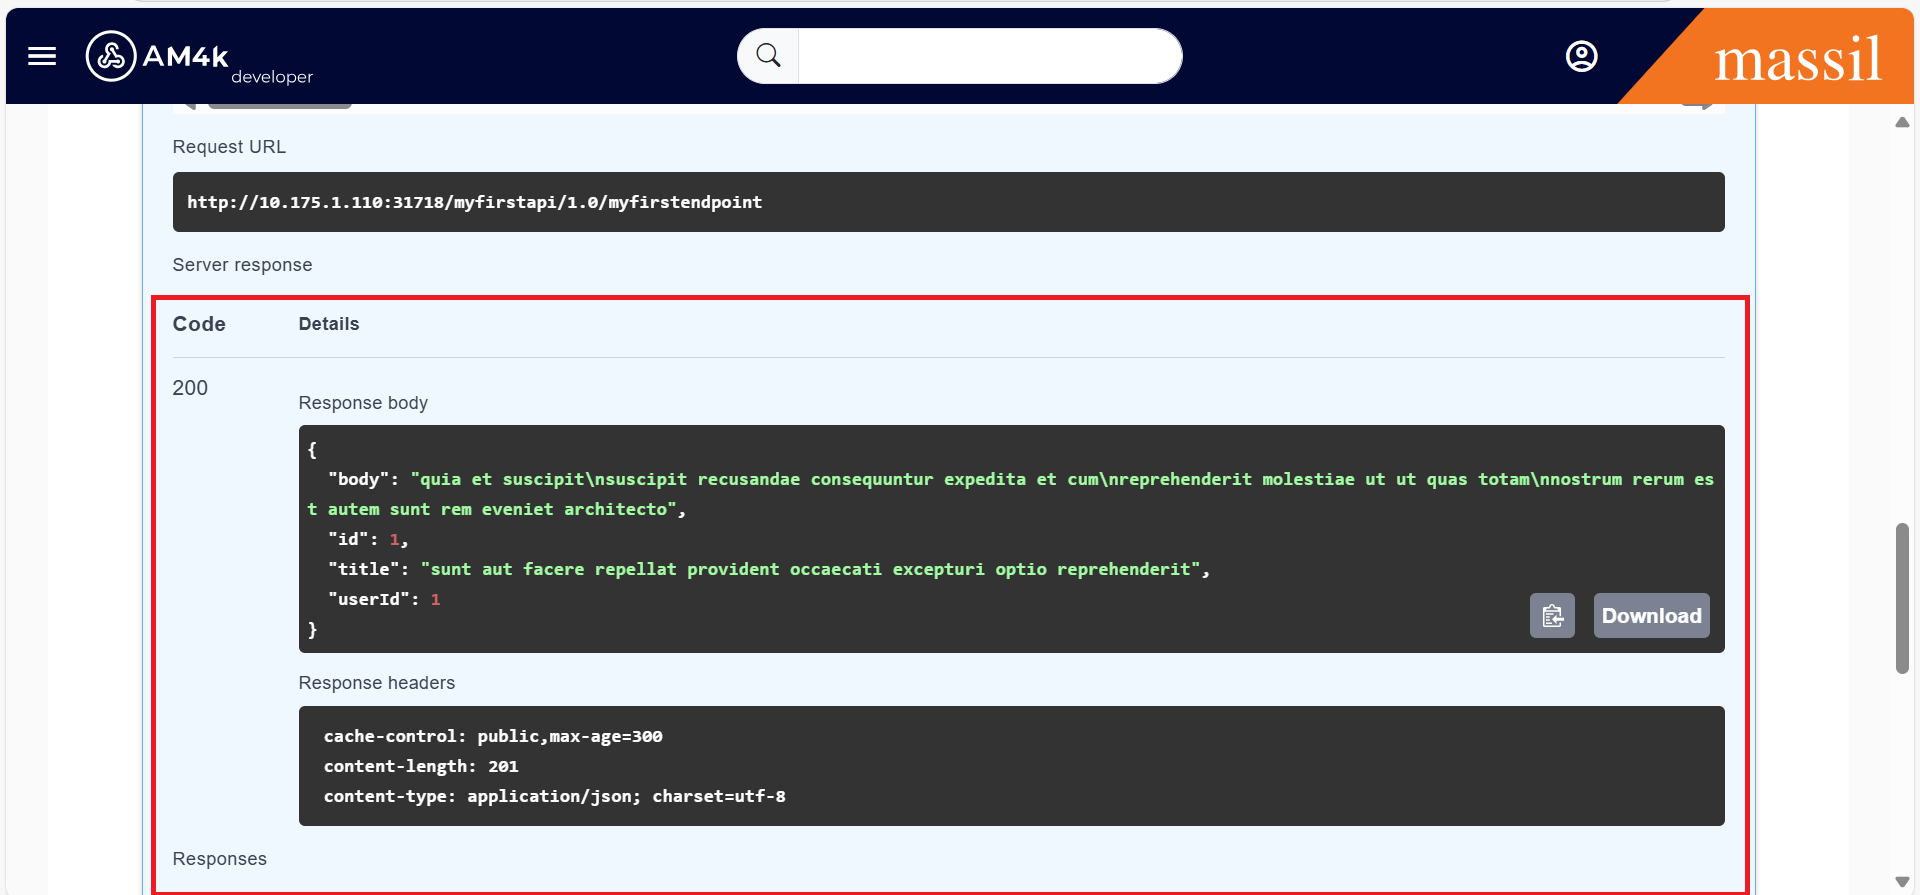
Step 29.Once you click on Execute, the response will be displayed in the DevPortal.